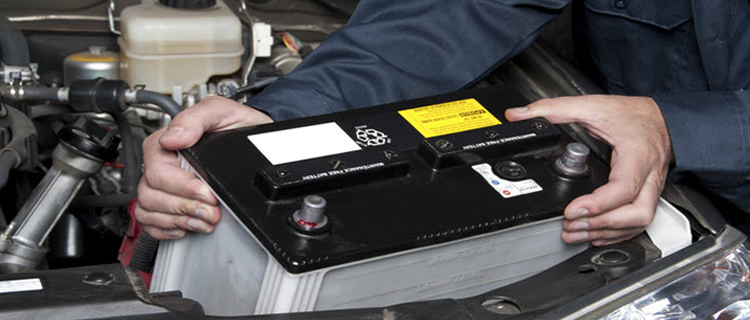
Car Battery Replacement: DIY Tips From ASE-Certified Experts
September 17, 2021
Tires

Need a car battery replacement? Whether you want to go pro or do-it-yourself, TIRECRAFT is here to help.
Read on to learn a simple 8-step car battery replacement process, and find out why so many Canadians trust our ASE-certified experts for quality tools, materials, and car battery replacement service, or contact your local TIRECRAFT to speak directly with a mechanic near you.
Car Battery Replacement: DIY Tips From ASE-Certified Experts
Knowing how to handle a car battery replacement at home could save you the cost of a tow truck or trip to the repair shop. And as long as you take the proper safety precautions—and you follow our simple 8-step process—your car battery replacement can be an easy DIY project.
Here’s a list of the supplies you’ll need:
- Tools—Socket wrench, socket extensions, and wire brush
- Materials—Car battery, work gloves, cleaning cloths, battery cleaning & anti-corrosive solution
If you’re missing any of these tools or material components, contact your local TIRECRAFT. In addition to providing car battery replacement services, we also offer all of the tools and accessories you need to get the job done at home, and all for a fair price.
Once you’ve got your tools and materials assembled, you’re ready to begin the simple 8-step process:
- Step 1—Prepare your vehicle. Turn the engine off, engage the emergency brake, and remove the keys from the vehicle. Pop the hood and make sure the engine is fully cooled before you begin.
- Step 2—Locate the battery and identify the terminals. If necessary, remove the battery cover. Be sure to consult your owners’ manual before you begin, and follow all of the manufacturer’s instructions. Using the manual as a guide, identify the negative terminal (look for a minus sign by the post and a black cable) and the positive terminal (look for a plus sign by the post and a red plastic cover). If you need help here, contact your local TIRECRAFT.
- Step 3—Detach cables. Wearing your gloves, use your socket wrench to loosen the nut on the black or negative terminal of the battery, then detach the cable and set it aside, away from the battery. Next, loosen the nut on the positive end and detach that cable, too.
- Step 4—Remove the old battery. Remove any clamps or brackets and set them aside. Now you’re ready to remove the old battery from the tray. Be sure not to let any metal objects touch both terminals.
- Step 5—Clean the battery connectors. Using your wire brush and battery cleaning solution, clean the tray and connectors, then wipe them down thoroughly, until dry.
- Step 6—Install the new battery. Place your car battery replacement in the tray, making sure the positive terminals are near the red cable, and the negative terminals are near the black cable.
- Step 7—Protect the terminals. Next, remove the covers from the new battery’s terminals, and spray the posts with an anti-corrosive solution.
- Step 8—Complete your car battery replacement. Finally, attach the positive and negative cables with their corresponding terminals. Confirm the battery and cables are secure, then start the car to test your connections.
Get More Help With Your Car Battery Replacement: Go Pro With TIRECRAFT
Need help with your car battery replacement? Missing a few parts or tools? Prefer to leave it to the experts? Whatever the case may be, TIRECRAFT is here to help.
Whether you need professional service or a trusted source of high-quality tools and materials needed for your car battery replacement, you’ll find everything you need under one roof. Use the Find a TIRECRAFT tool to get started with your car battery replacement.
Back

